Monday, December 22, 2014

First Room Done and Happy Holidays!

Sorry for the late post, but we've been busy getting ready for the holidays. Last weekend, my parents came down to help our with the hardwood. Our goal was to finish laying the hardwood in the first room, so we put them to work right away. 


My mom and I would help with the design and choosing the pieces, and then Dan and my dad would do the hard part of actually securing the wood to the floor. Luckily, this portion of the sub-floor wasn't too uneven, so they didn't encounter too many problems. 


The closer we got to the wall, we had to switch to installing everything by hand., but we still had time for a little silliness. 


When it came time to lay the last row in the room, we got lucky and did not have to rip any of the boards to fit. We were able to use the full pieces and they fit snugly against the wall. 


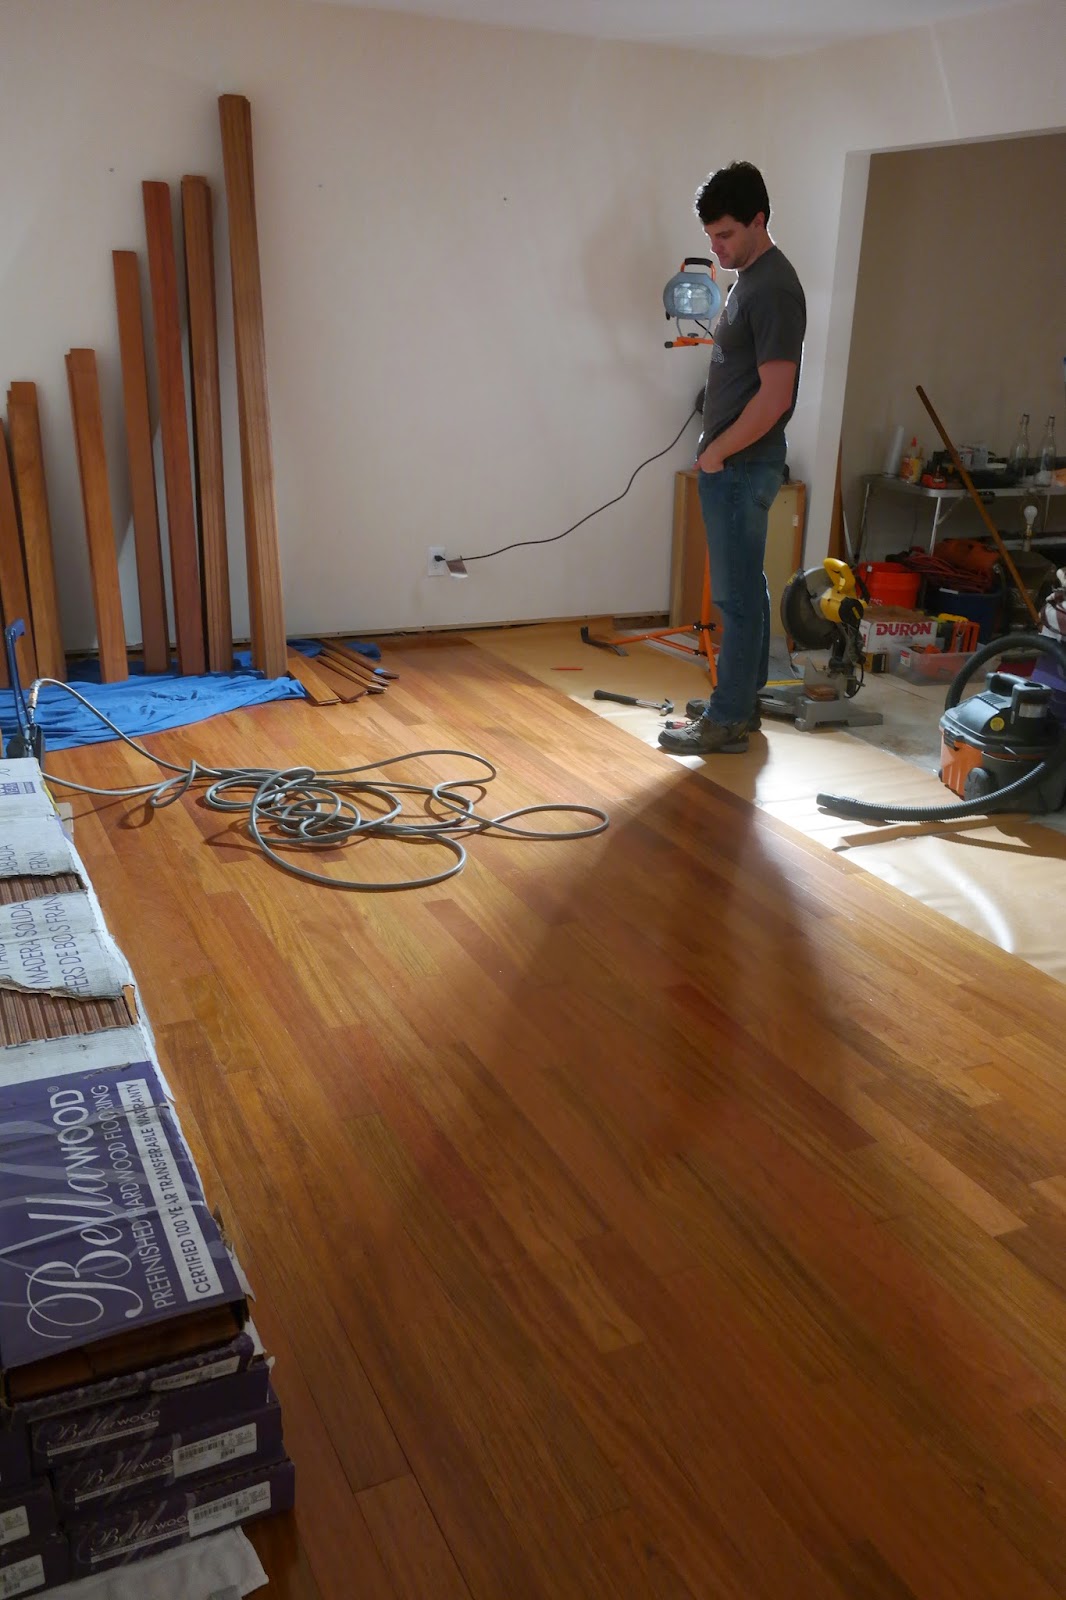
Once we got going, it was amazing to see how quickly we were able to lay the hardwood. We love how it turned out and completely changes the look and feel of the room. Plus we are still smiling at this point in the project, which has to be cause for celebration! 
We are going to be taking a break for the holidays, but will be back in full swing soon enough. For now, we have one room done, and one to go! We wish everyone a very Merry Christmas and the best of wishes for the New Year!

 D&L

Sunday, December 7, 2014

Hardwood and Getting into the Holiday Spirit

We have been keeping at it with laying the hardwood. It seemed to be slow going at first because we were dealing with some unevenness with the sub-floor, but once we got past those spots, things moved more quickly. We were able to do a row or two each night when we got home from work before it got too late for to run the compressor :)


We had a very productive day on Saturday. Steve came over to help Dan out with the hardwood and they were able to make a lot of headway. After next weekend, we will probably be done with the first room! We are thrilled with how the floor is looking and can't wait to see how the whole room will look. Our parents are coming down next weekend and we are going to put them to work! Here's a picture of Dan checking out his handiwork. He certainly deserves it because he has been working so hard. 

We also got our Christmas tree on Saturday. We have started a tradition of going to the tree place that is set up a few blocks away. We walk over there, pick out our tree and then walk the tree back to our house through the neighborhood. I'm sure our neighbors get a kick out of seeing the two of us carrying a tree but we love it. 


Last year, for our first Christmas as a married couple, we strung some popcorn to put on our tree. I got the idea from my parents who did the same thing for their first Christmas and 33 years later, they still put the same popcorn on their tree. Hopefully our popcorn lasts that long! 


We spent the night decorating our tree, laughing and smiling with each ornament we pulled out, remembering where they came from. 

 We hung a wreath up and some garland with lights outside and I wrapped some presents up tonight. Our family room is bursting with decorations because the dining room and kitchen are in reno mode. We did put some elves throughout the rest of the room :) More hardwood pictures to come!

D&L

Monday, November 24, 2014

Starting the Hardwood and Friendsgiving

This weekend was quite a busy weekend for us. We were hosting the first Friendsgiving's at our house and started laying the hardwood. Dan laid down the underlayment the night before, and Steve and Karen came over Saturday morning to help us get started. While the turkey was finishing in the brine (sledge hammer was used to make sure it stayed submerged...that's why we bought it right?), Steve and Dan worked on rebuilding the step to make sure the stair nose would be flush with the floor so we would have a good place to start. 


 Once the stair nose was installed, the guys got to work on laying the hardwood. Here was the first nail that was laid in the floor. 

 In the first row, Steve helped us cut the boards lengthwise so we were able to square everything with the plywood sub floor, which was factory cut and made a straight line through the room that we were able to use as a guide for our measurements. 

Working with the step and cutting that first row took most of the afternoon, so we called it a day. Steve did a great job teaching Dan the tricks of the trade. We would pick things up Sunday morning. Now onto Friendsgiving! 


The theme of Friendsgiving was classy reno. We had fabulous food off of fancy paper plates with plastic utensils and drank fall sangria out of solo cups. 


After having our fill of food, we cleared out some space in the family room and rocked out with some Just Dance. Hopefully this is the start of many many more! 


Sunday morning, Steve and Karen came over to get back to work on the hardwood. Laying the next couple of rows was slower than we anticipated due to the sub floor not being perfectly level. The wood is so dense that we have a tough time gauging the pressure needed to set the staples flush with the tongue of the boards without splitting them. We try to err on the side of caution and finish the staples by hand before laying the next row. 


We were able to lay seven rows by dinner time on Sunday and two more this evening. Needless to say this is going to take some time. We cannot thank Steve and Karen enough for taking the time to help us out with this. We would not have known where to start, let alone have the confidence that we could even tackle a project like this. It is going to be hard to repay them for all their help, but hopefully the new stove for the cabin is a start :)

At then end of the day Sunday, here is our floor! It already changes the look and feel of the house when you first walk in. We cannot wait to see how its going to look when its all done...but we have some work cut our for us until then! 


 Happy Thanksgiving! D&L 


Sunday, November 9, 2014

Demo is Done!!


After last weekend, we still had a small portion of the wall up, and at the time we hadn't decided whether we were going to remove it, or do a cut out of the wall. We decided that if we were going to do a cut out, we might as well take the whole thing down. Doing that and removing the rest of the back splash was on deck for this weekend. 


Dan tackled the wall, while I got to work on removing the back splash. It turns out that tile is a lot more challenging to remove when there is drywall behind it versus a plywood sub-floor! Once that wall was down, it was amazing how much of a difference it made. The space seemed much more open and flowed so much better than before.


We then were able to set up the kitchen in the configuration we envisioned when we started this whole project to see how it would look. The stove and cabinets fit snugly between the windows, and there will just be some minor adjustments we will have to make. We also positioned the kitchen table where we want it to go, as well as use the beer pong table to act as the cabinets/shelf we are thinking about for that back wall. We taped off an area on the floor where we were thinking an island would go just to give us an idea of spacing. 


We went shopping today to look at some gas stoves and a new microwave, as well as some options for our island. We didn't pull the trigger on anything yet, but got some great ideas. Since the demo work is all done, we probably won't do a whole lot for the next couple weekends. After Thanksgiving, we are going to start to lay the hardwood, so that is when the real fun will start! 

For now, I will leave you with a photo of the last of our dahlias from our flower bed. These quickly became our new favorite flower and we were shocked with how well they did out front. We can't wait to plant more next year! 


D&L


Thursday, November 6, 2014

Once there was a wall

Sorry this is a little late, but last weekend we got to work on the cabinets and the wall that we are going to remove. My parents came down to help us out, and we put them to work! First, we removed the granite counter-tops edge pieces, which ended up coming off all in one piece with very little effort. Then we took out the microwave and  removed the cabinets from the wall. As you can see in the picture, my mom was collecting all the screws and hardware while Dan and my dad removed the cabinets.

One fortunate thing we found when we removed the cabinets was that they were finished on both sides, so we won't have to worry about getting extra pieces of facing when we flip them. That was a pleasant surprise. 

Then, the guys got to work taking the remaining drywall off, as well as tearing up the tile and second sub-floor that was under the stove and cabinets. They also moved the refrigerator and dish washer to remove the tile and second sub-floor from under there as well. 


We then removed some of the 2x4 from where the wall was that didn't have any electrical wiring running through them. The electrician was coming out this week to deal with the wiring in the wall, so we had to wait to remove the rest of the beams. 


While we were doing some of the demo, we found some old lists from the previous owners under the stove and one of the cabinets. Its hard to read what they say, but I think the one says that there are chips in the cabinet and the other one looks to say something about January and pants. 


At the end of the day, this is what we were left with. It was quite the productive weekend and we were very thankful that we had some help with all of it. We rewarded my parents with a fabulous mexican dinner and ended the night with some Just Dance :)


Next on the plate is to remove the back-splash from under the other cabinets and go shopping for a gas stove! We'll be moving some things around this weekend to get a better idea for what we want to do with an island, and installing the hardwood is right around the corner!

D&L

Friday, October 31, 2014

Halloween and Hardwood

After a productive demo weekend, we had a weekend where we just did some little things...and ordered our hardwood. It came Sunday and we have to let it acclimate for a few weeks before we can begin installation.


We got about 30 boxes of hardwood and some sound/vapor barrier to put down under the hardwood. We copied what Karen and Steve have and got Brazilian Cherry (imitation is the most sincere form of flattery :)). This type of hardwood darkens when exposed to sunlight, and we got to see what Karen and Steve's looked like after it was darkened and we loved it. So installation should start sometime between Thanksgiving and Christmas. That's when the real fun will start! 


 My parents are coming down this weekend to help out with removing the cabinets and granite counter tops, as well as removing the rest of the second sub-floor, so more updates will follow.


Until then, here are some pictures of our house decorated for Halloween. We decided to go with a Costco pack of full size Snickers bars this year, and so far, we have only had 10 trick-or-treaters, so, it looks like we will have tons of leftovers!


The picture below is of IronBabyFishRider, which is something that we inherited from Aunt Joanne and we decorate him for every holiday. My grandma found this iron fox and gave it to us for Christmas last year, so we have taken to decorating her for every season as well.  Its been a fun tradition that we have started.


  Happy Halloween! D&L

Tuesday, October 21, 2014

Phase 2: Demo, Let the Fun begin!

After a few weekends of being out of town, we were able to start the demo work on our project. 

First we exposed the back side of the wall that we are going to knock down in order to see what we were working with in terms of electrical wiring. Luckily we didn't find any surprises there. There is no plumbing through this wall, which makes things easier for us. 


 We had an electrician come to the house to work on some other things, so while he was there, we were able to talk to him about our plans for lighting with respect to our project. He was able to look at the wiring in the wall, and let us know what would need to be done before completely removing the wall.


Next, we got to work on removing the tile from the kitchen floor, which was not an easy task. We got started on Friday night (date nights have certainly taken on a new meaning :)). 

Using a chisel, we loosened up the grout and there were able to pop the tiles out. 


We removed about 6 tiles on Friday night and with one of us working at a time, it took about an hour to get that much done. It did not make us look forward to dealing with the rest of the flooring.

Saturday, we borrowed a second chisel from Karen and Steve, changed our technique and started on opposite ends of the kitchen. We were able to get the remaining tiles up by that evening, and only sustained some minor cuts along the way. 


When the tile was installed, instead of putting a cement backboard down, they put a second sub-floor down on top of the existing sub-floor. The second sub-floor was secured with what seemed like a millions screws and nails, and we couldn't get all the screws out because of the thinset, so it would involve some brute strength to get this off. Thankfully, we have Dan for that!


Steve stopped by to bring over some tools for us to borrow and to brainstorm some ideas for how to remove the second subfloor. They were able to get the majority of the second sub-floor off, which was a huge help. I snuck in and snapped some pictures while they were working.

We still have some portions of the second sub-floor to remove that are around the fridge and sink cabinets, as well as the cabinets around the stove. Next step will be to remove the cabinets and counter tops from around the stove.


Now that the tile has been removed, this whole project seems more real! Here we go!

D&L

Tuesday, October 7, 2014

Concrete Floor Staining Project

The first big project we tackled in our house was staining the concrete floor in our family room. There was this hideous green carpeting in there, so we knew we wanted to get rid of that (unfortunately, I didn't get a picture of that). When we pulled a corner of the carpet up to see what was underneath, it was not old hardwood like I had hoped, but a concrete slab. Our basement is not under our entire house, but just one half of it, so the other half is on a concrete slab. We had been thinking that we wanted to do hardwood in that room, but we would have to build up a sub-floor which seemed to be more of a hassle than what it was worth to us. We looked at some engineered hardwood, but we didn't find anything that we were crazy about.

One Sunday morning while watching a show on HGTV, we watched them stain a concrete floor in a kitchen and it looked awesome when it was done. Dan did some research on the whole process, and we decided to give it a shot. We were going to rip the carpet anyway, so if we didn't like how it looked, we could always cover it with carpet or laminate.

We ordered all the products we needed and had a Friday night rip out the carpet date night.

The concrete had a sealant put on the surface, so in order to get the stain to absorb into the concrete, the surface of the concrete had to be sanded down.  Dan got his orbital sander and about 400 sanding pads and went to work. Of course, he made sure to wear the proper safety gear:


Once the sanding was complete, which took the better part of a week, the surface needed to be thoroughly cleaned and rinsed. Then we were ready to stain. The thing about staining concrete is that you have no idea what the color is actually going to be until it is sealed. The stain reacts with the concrete, so depending on any impurities and the type of concrete used, the color can be different in different areas. The stain that we chose was called Cola, which was a reddish brown, however, when it was sprayed on, it looks fluorescent green. As you can see from the pictures. Dan was able to keep the TV plugged in throughout the whole project, so that made things a little easier!


We did two coats of the dye on the floor and Dan pooled the dye in some ares to get more of a contrast in color. There are so many different techniques and color combinations that people have done when staining concrete that look really awesome. After the stain dried, we had to seal it, and the sealant that was recommended was a polymer sealant. Thankfully we did this on one of those rare weekends in February where it was 65 degrees out, because once the sealant was on the floor, we couldn't even be in the house. The fumes were so strong, it took a good week for our house to air out.


Before sealant and wax


After sealant and wax
We loved how the floor came out. Dan put a wax coating on before we moved the furniture in, and the floor will have to be resealed and re-waxed every couple of years. We then put in some baseboards and painted the room.


I said "we" a lot regarding this project, but Dan really did the majority of it. I just helped with the demo and the painting. Dan did all the floor prep and staining, cut and installed all the baseboards. He's quite the handyman!

D&L